Did anyone reading this blog have any idea that custard pies are difficult to make? Well, they are. I discovered this fact in the middle of making this pie after several swear words and threats of throwing the recipe out the window. I don't plan on making a custard pie or any other recipe out of Bon Appetit for a while. However, the end result was an incredible, creamy, sweet, delicious, peanut-buttery concoction. I don't even like peanut butter that much but this pie was awesome. If you're up to the challenge, this pie is worth all the effort. (
Printable version)
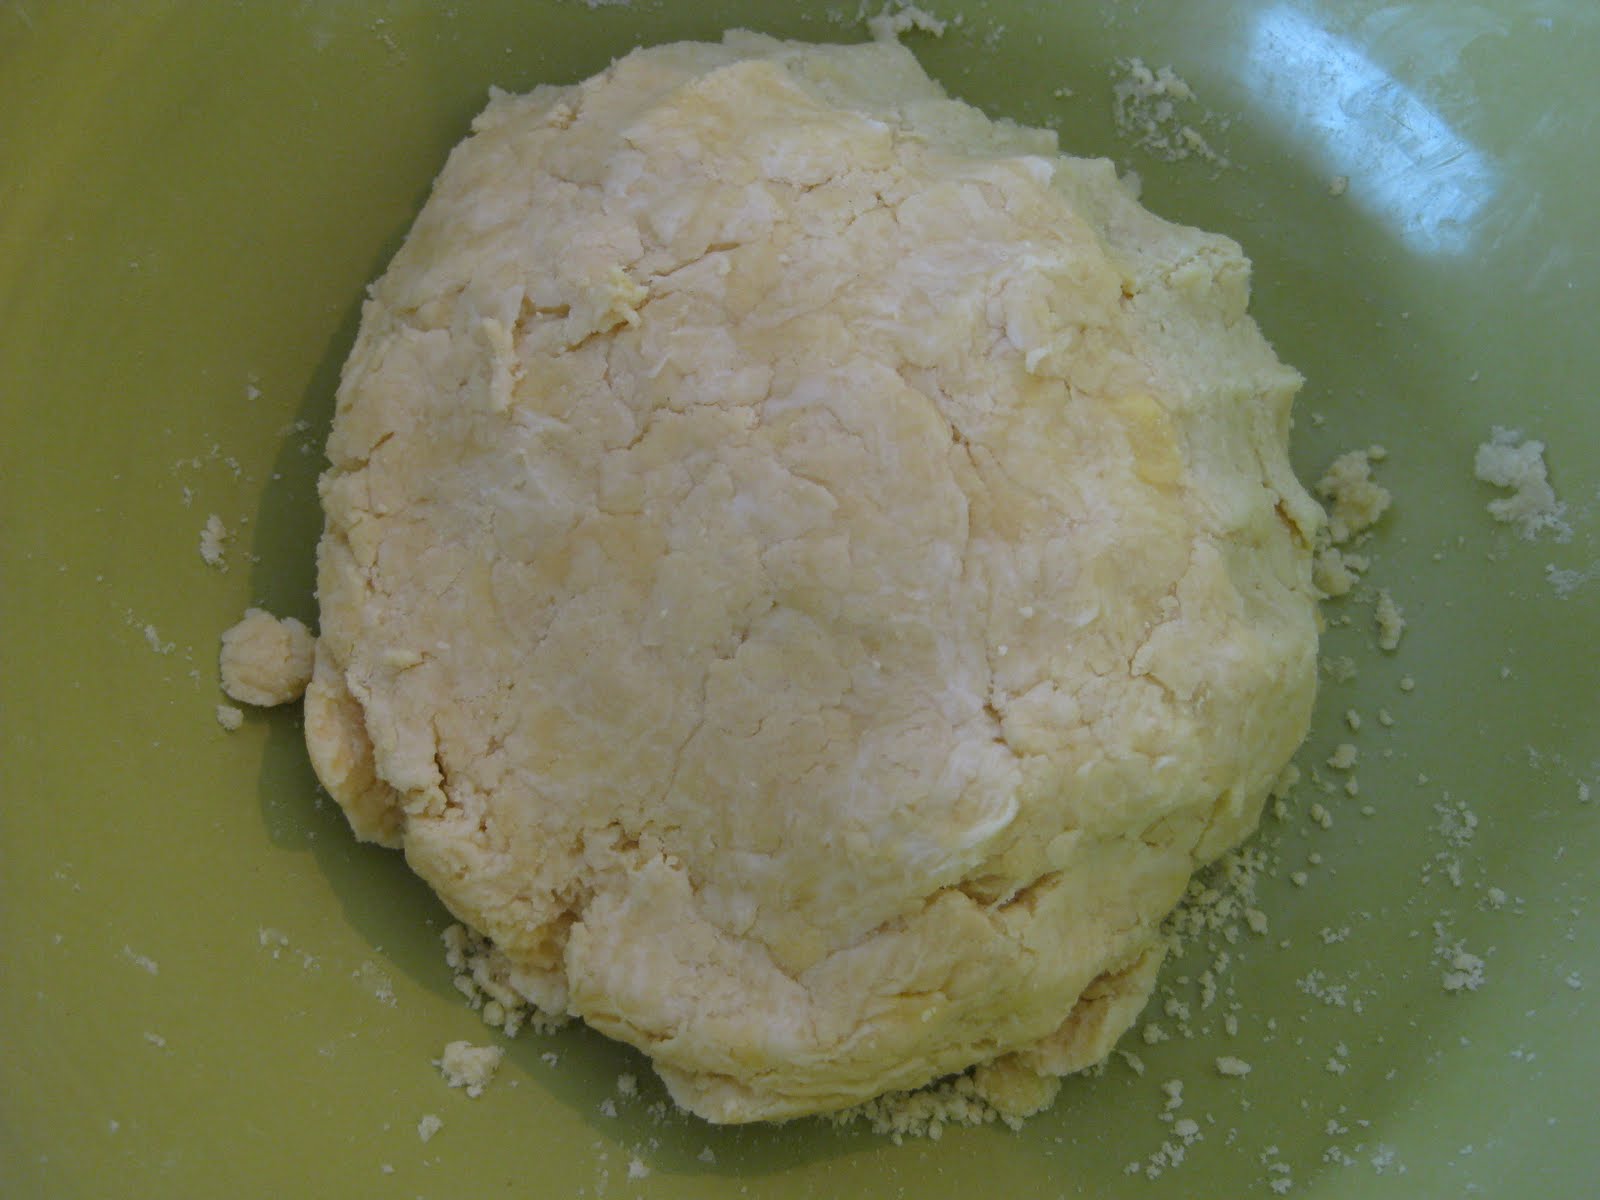
Crust:
Use a basic
graham cracker crust recipe and add 1/8 teaspoon fresh nutmeg. (Instead of fresh nutmeg, I lightly sprinkled dried nutmeg into the food processor before I pulsed.)
Honeycomb Candy:
1 1/2 cups sugar
3 Tbsp corn syrup
1 Tbsp honey
1 Tbsp baking soda, sifted
Line baking sheet with foil or parchment paper.
Combine sugar, corn syrup, honey and 1/4 cup water in heavy, deep saucepan. Stir over medium-low heat to dissolve sugar. Cook without stirring, instead, swirl the pan occasionally and brush the sides of pan with a wet pastry brush. Boil until sugar turns amber-colored. Add baking soda and quickly whisk just to combine. (Mixture will foam up so make sure you whisk at super-speed.) Pour mixture onto baking sheet. Do not spread. Cool until candy hardens (about 20 minutes). Use hands or knife to break up candy into small chunks.
Unfortunately, I had to make this candy twice because the first time I didn't let it cook long enough and it came out white. It also refused to harden. The second time, I made sure that the sugar was as "amber" as it was going to get before I poured it onto the cookie sheet.
Custard Filling:
8 large egg yolks
12 Tbsp sugar, divided (6 and 6)
1 1/2 cups whole milk (I used 2%)
1 vanilla bean, split lengthwise (Yes, it seriously calls for a real bean. That should have been my first warning sign.)
3/4 butter, at room temp
1 cup creamy peanut butter
2 Tbsp powdered sugar
1/2 tea kosher salt
Mix yolks and 6 Tbsp sugar. Beat on high for about 2 minutes or until ribbons form. Combine milk and remaining 6 Tbsp sugar in a large saucepan. Scrape in seeds from vanilla bean and add bean. Bring to boil and dissolve sugar. Remove bean.


With mixer running, slowly add hot milk mixture. (Apparently, this part is important because if you add the hot milk too fast, it will cook the egg unevenly and the filling will lack a smooth texture. I added everything really fast because I had no idea that this would ruin everything. After I "destroyed" the filling, I really didn't care anymore because I already had to remake the honeycomb and wasn't about to find another vanilla bean to scrape into another pot of boiling milk. I also didn't want to separate 8 more yolks from the egg whites so I decided to continue with the recipe with the chunky egg filling and take a risk that the flavor would turn out. Sorry for the rant - moving on!) I don't really have pictures of this process because all the f-bombs coming out of my mouth made me forget that I was supposed to be blogging.

Pour mixture back into pan and bring to boil while whisking constantly. Remove from heat and continue to whisk vigorously for 1 minute. Return custard to (cleaned) mixing bowl. Beat on high for 4 minutes or until custard is cool. (At this point in the recipe, my custard wasn't "custard-like" enough for me so I returned it to the stove and reboiled it, cooking it for a longer period of time. This was also the point at which I decided custard pies were pure evil and the devil himself probably invented each recipe.)
Mix in butter 1 Tbsp at a time. Add peanut butter, powdered sugar and salt. Beat to blend; scrape filling into cooled crust and smooth. Chill in fridge for 2-3 hours.
Topping:
2 oz bittersweet chocolate (don't exceed 61% cacao)
2 1/2 Tbsp butter
Honeycomb Candy
Roasted, salted peanuts (I used honey roasted peanuts for the added honey flavor.)
Stir chocolate and butter together in small saucepan on medium-low heat. Keep stirring until melted and combined. Drizzle some chocolate glaze over chilled pie and smooth into a circle. Top with honeycomb and peanuts. (I really piled it on.) Drizzle more chocolate over the top. Now you are finally done with the world's most difficult pie recipe. Congrats on your achievement!
I actually brought this pie with me to a bachelorette party and was shocked when it tasted so good. In fact, it was addicting. The filling even had a smooth texture despite my cooked-eggs issue. (Then again, I had been consuming several adult beverages by the time I ate this pie at 2:00 in the morning so it could have been the combination of alcohol and sleep-deprivation that made this pie taste so wonderful.)